iPhone 12 skin
I’m not a fan of bulky phone cases, so instead of opting for those, I came across dbrand skins. However, at 25 euros, I’d rather customize my own and save some money. Here’s how I created my custom iPhone 12 skin:
Step 1: Get template iPhone
After searching fot .svg or .dxf iPhone templates on the internet i only could find payed options, so I searched for CAD file of an iPhone 12.
- Download the iPhone 12 model from
GrabCAD
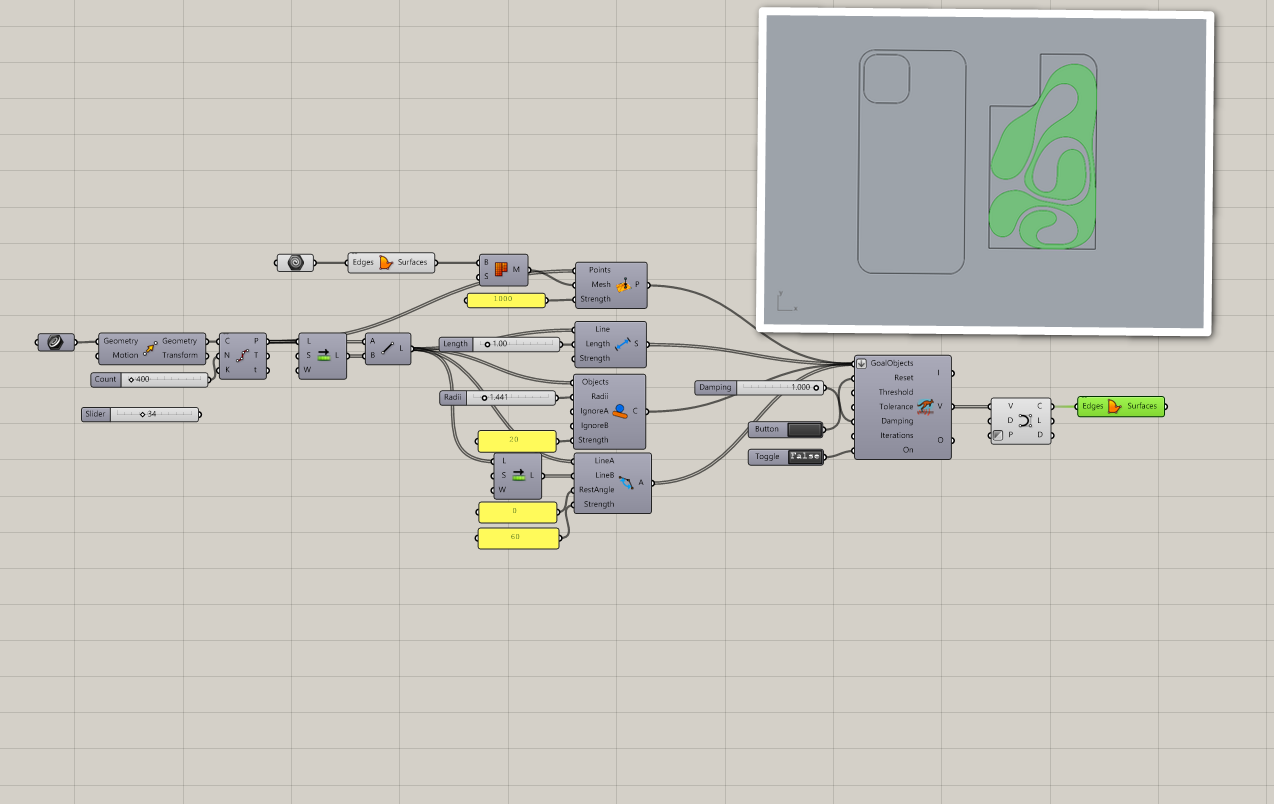
I use this model to get the template of the back of the Iphone 12 in Fusion 360
- Open the downloaded file in Fusion
- Create sketch on the back of the iPhone and project only the glass
Figure 1 - Export the sketch as a
.dxfFigure 2


Step 2: Costom design in Rhino Grasshoper
While making this skin i’m following a minor course at the RobotLab where I used this tutorial about thalluses to create a drawing. I will use this to create the design on the skin.
-
Watch
thistutorial on YouTube from “The Different Design” -
Install the pluging
Kangaroo2fromfood4Rhino -
Download my 2 files or follow
Figure 3
Download .3dm File Download .gh File
As you can see you can change the bounary box if you till want to fit text underith
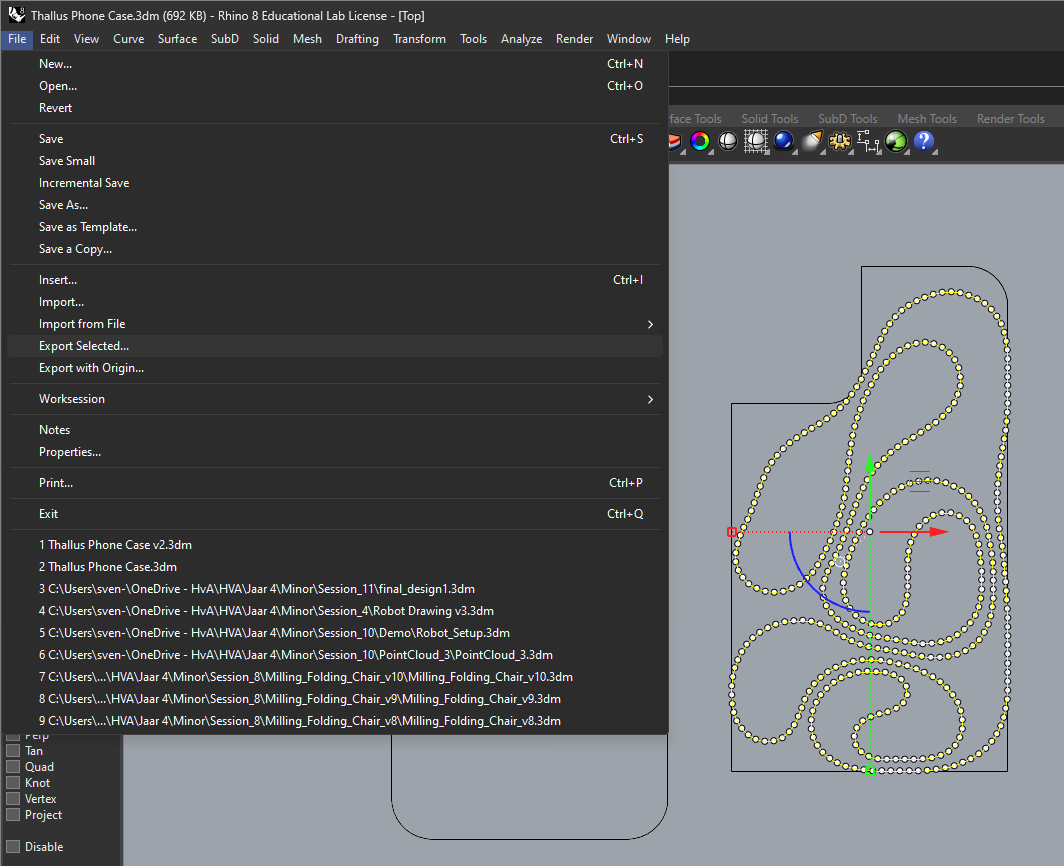
- Bake the last node in grasshoper and sellect it in Rhino
- Sellect the curve you just baked in Rhino and go to
Filein the upper right corner and in the drop down menu sellectExport Sellected... - In the next menu you want to save it as an
.dxf
Step 3: Impored in LightBurn
LightBurn is a laser cutting and engraving software I use for my laser cutter. Iam going to combine the two .dxf files and at text and that is what im evaltualy going to laser cut and engrave.
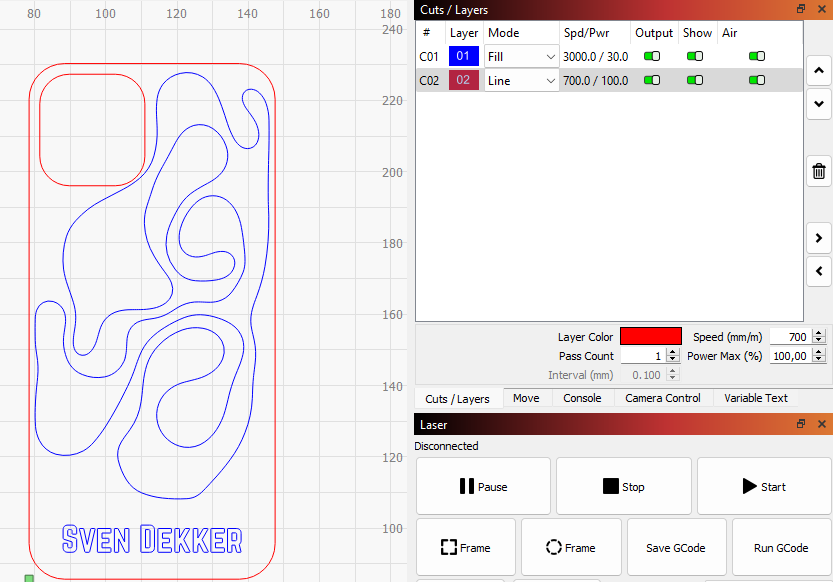
- Import the two
.dxfinto LightBurn - Alline and scale them as you like
- At text underneath
- Devide the part into two layers.
- Layer 1: Line
- Layer 2: Fill
It should look something like Figure 5
For the correct engraving and laser cut setting you should do some small experiment for you!
Step 4: Engraving and Laser Cutting
When your happy with the design and the settings are correct you can send it to the lasercutter. I have a small clip of the process

Result

